How to Make a Wreath in Any Style

Making a stunning wreath is simple, just gather the right supplies, seasonal embellishments, and a large dose of holiday spirit.
1 of 11
Wreaths are made to celebrate the cycles of nature and all life. And from the beginning, our editors have strived to take wreaths beyond their traditional holiday association.
Over the years, we have created scores of other gorgeous wreaths to adorn walls and doors and hang over mantels. These wreaths have been made with all sorts of materials—natural evergreens, straw, pinecones, coffee filters, Christmas ornaments, even fresh cranberries (one of Martha's favorite wreaths of all time).
Wreaths are most often associated with Christmas, but they make beautiful decorations year-round. In fall, a door adorned with a pinecone wreath looks warm and inviting. In winter, a cranberry wreath offers a colorful contrast to white skies and bare trees. Satin rosebuds arranged on a ribbon-wrapped wreath add delicate detail to springtime events. And, in the summer, seashells in all shapes and sizes can be collected from the shoreline for an oceanfront beach house. Fabricate new wreaths using some materials that you have not included before: crystals, wired ribbons tied into bows, golden leaf stickers, and even dried sweet-gum seed pods. After a walk in the woods, try creating a wreath of cedar boughs you've gathered, or make a wreath using seashells you've collected at the beach. With a little imagination, you can create memorable decorations year-round. The wreaths are beautiful to hang indoors or out, and they're nonperishable, so you can use them year after year.
Here, we demonstrate our editors' tips and techniques that created some of our favorites from over the years; hopefully to inspire a wreath of your own.
1 of 11
2 of 11
Wreath-Making Supplies
Why not keep a container filled with wreath-making supplies, which makes it convenient to experiment with seasonal materials? Our editors use a variety of tools and materials. For attaching materials to your wreath's form, use floral wire of various gauges on paddles (in the color green if using greenery or other wire such as copper or brass). You can also use floral tape in various colors, twine, floral pins and straight pins in different sizes, and craft glue.
For shaping greenery, use pruning shears or miniature snips. Wire snips are, of course, sharpest for cutting wire. Needle-nose pliers are ideal for reaching into tight crevices. To hang your wreath, you will need monofilament (also known as fishing line) for a seamless, no-show look. Or try raffia and ribbon for a bold, bright display. Hanging hardware, including picture hooks, D rings, screw eyes, and nails are all handy to have for your project. A last necessity: work gloves to avoid sticky sap and prickly needles from evergreen.
2 of 11
3 of 11
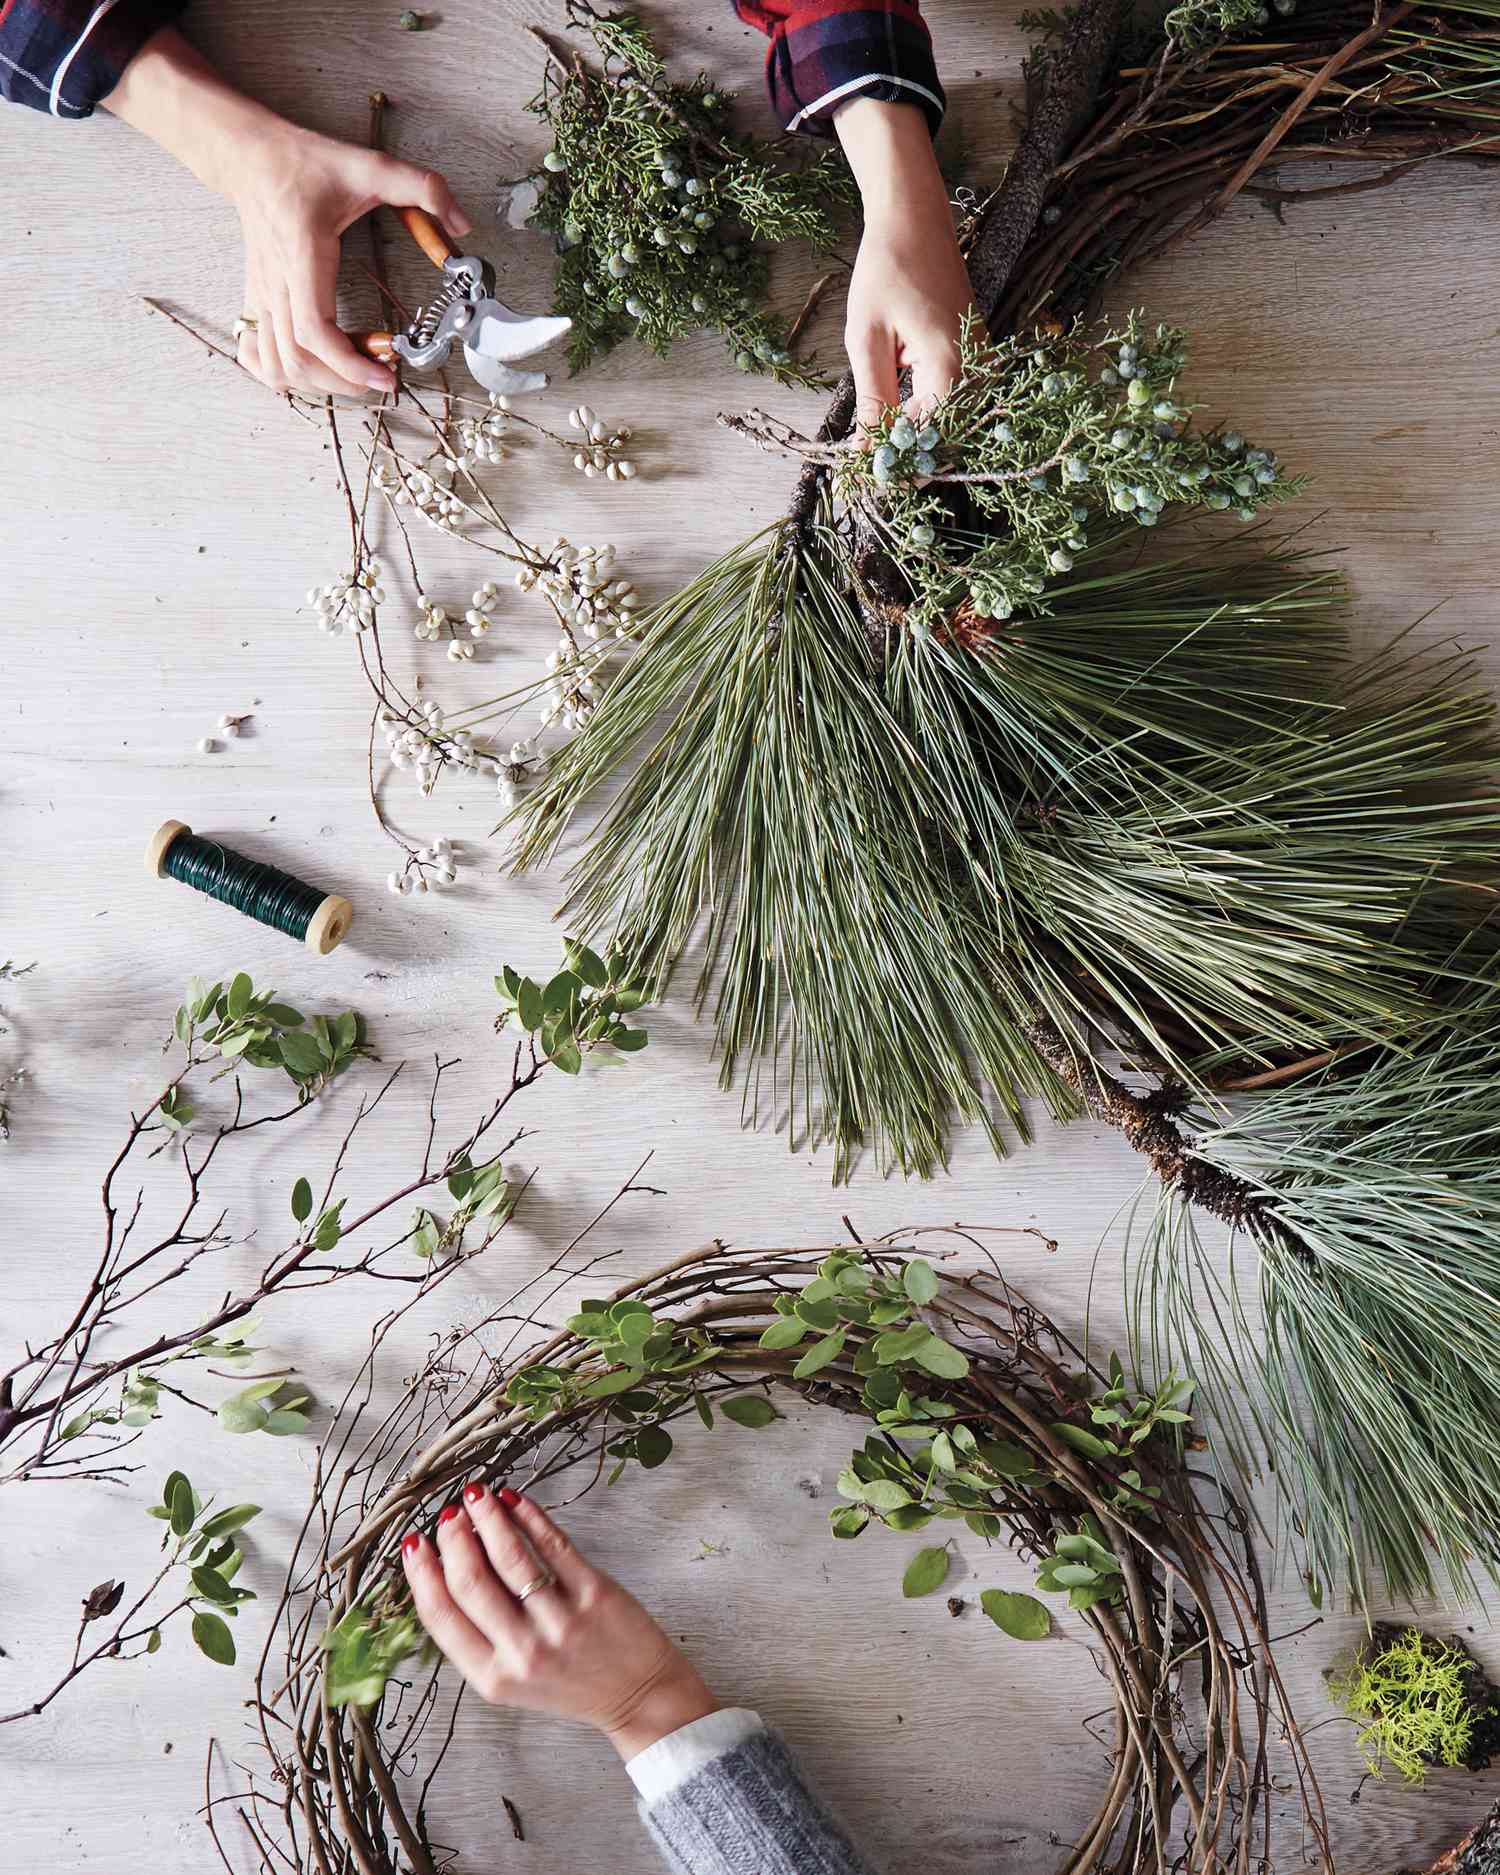
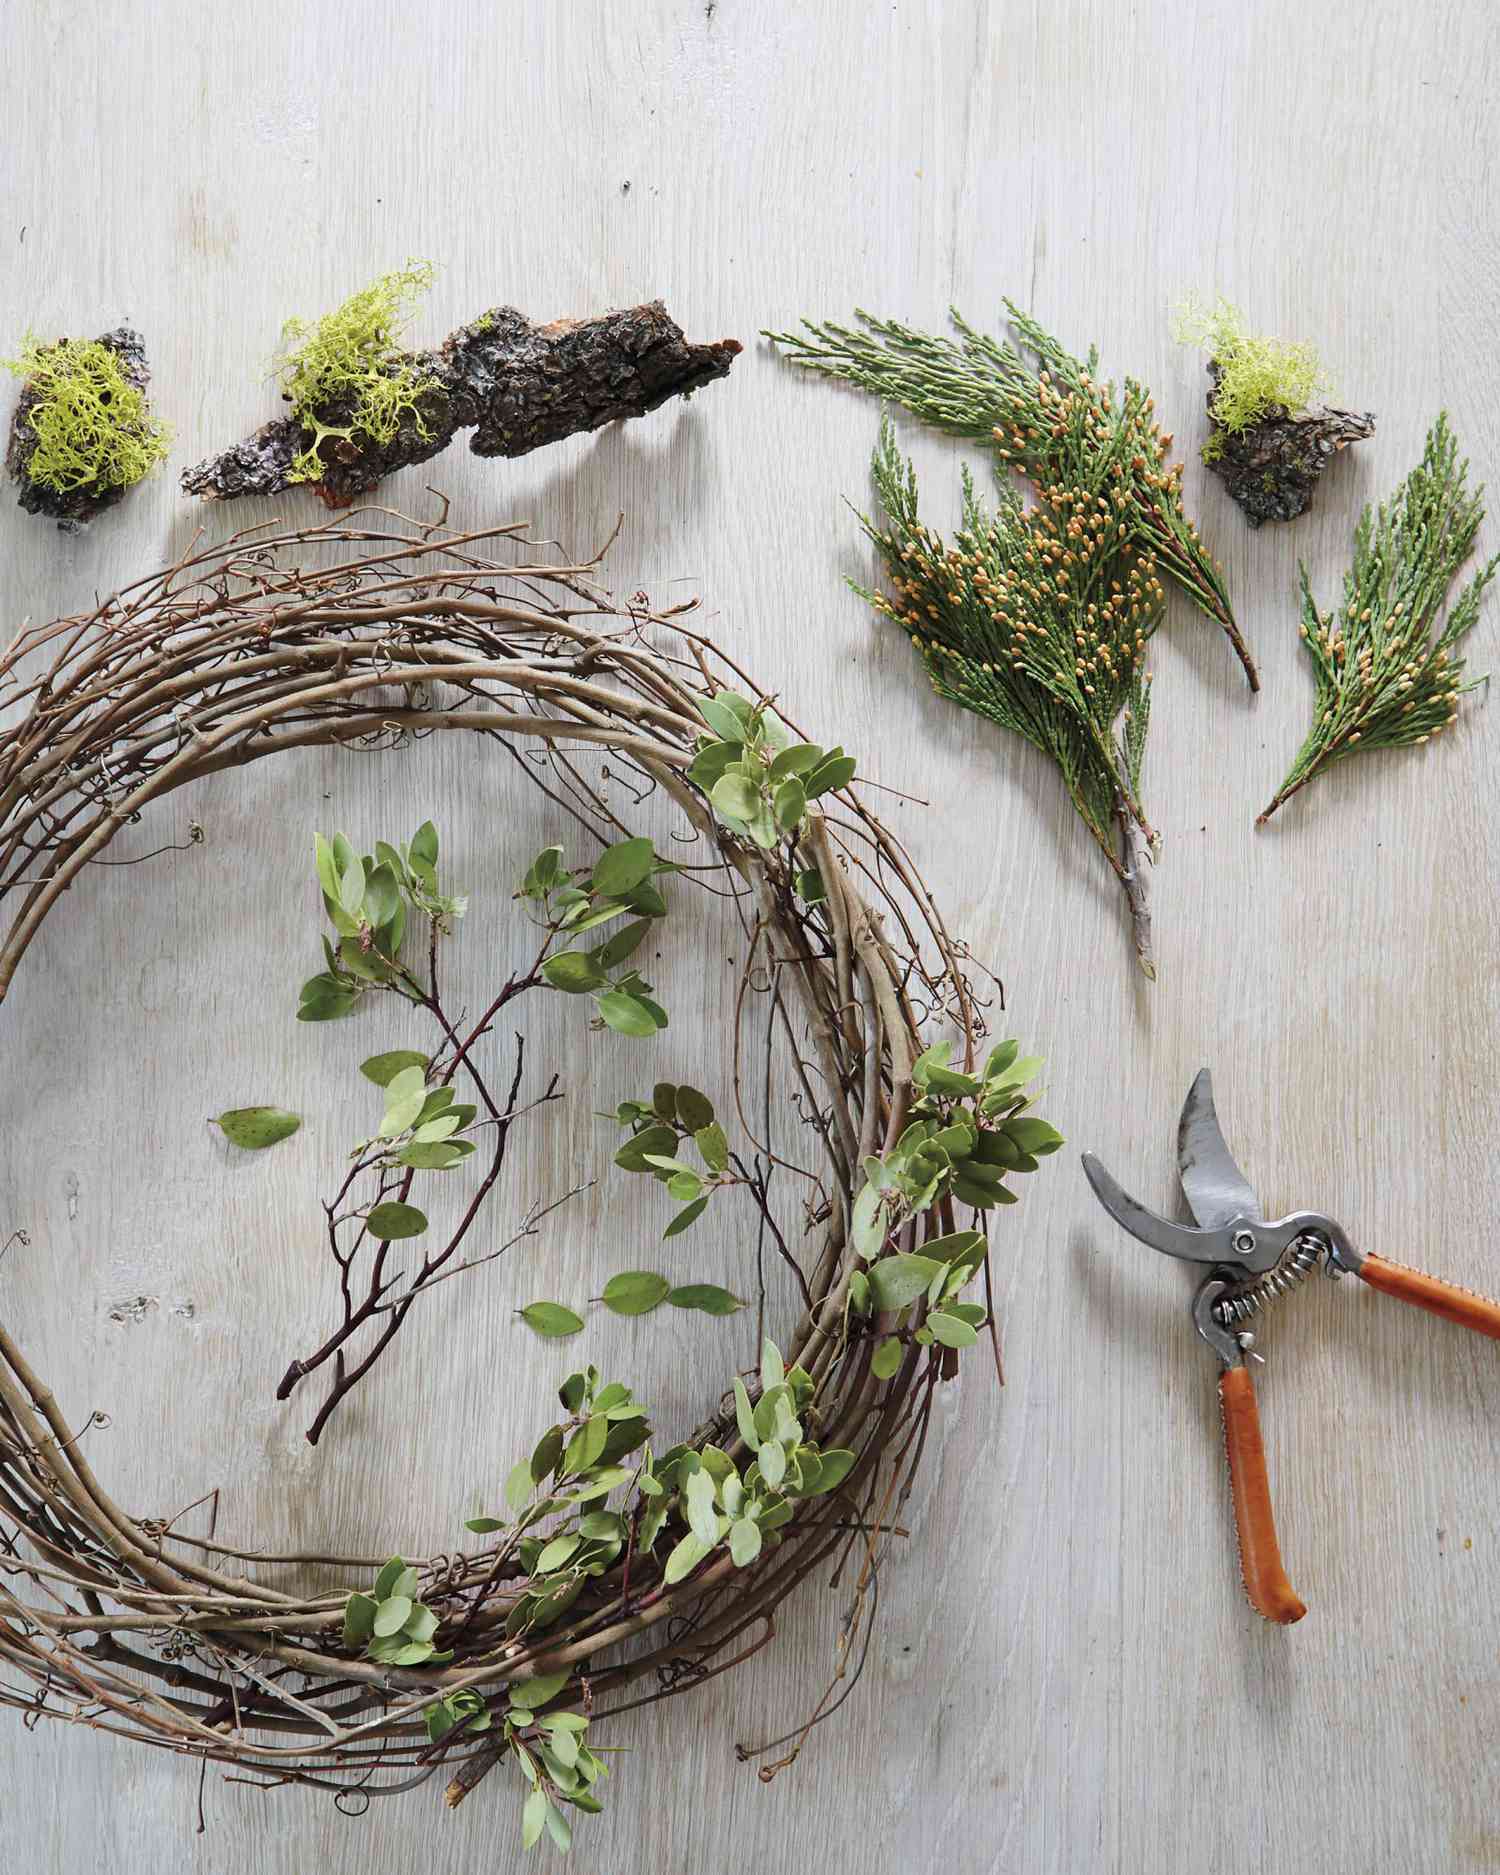
Making a Grapevine Wreath
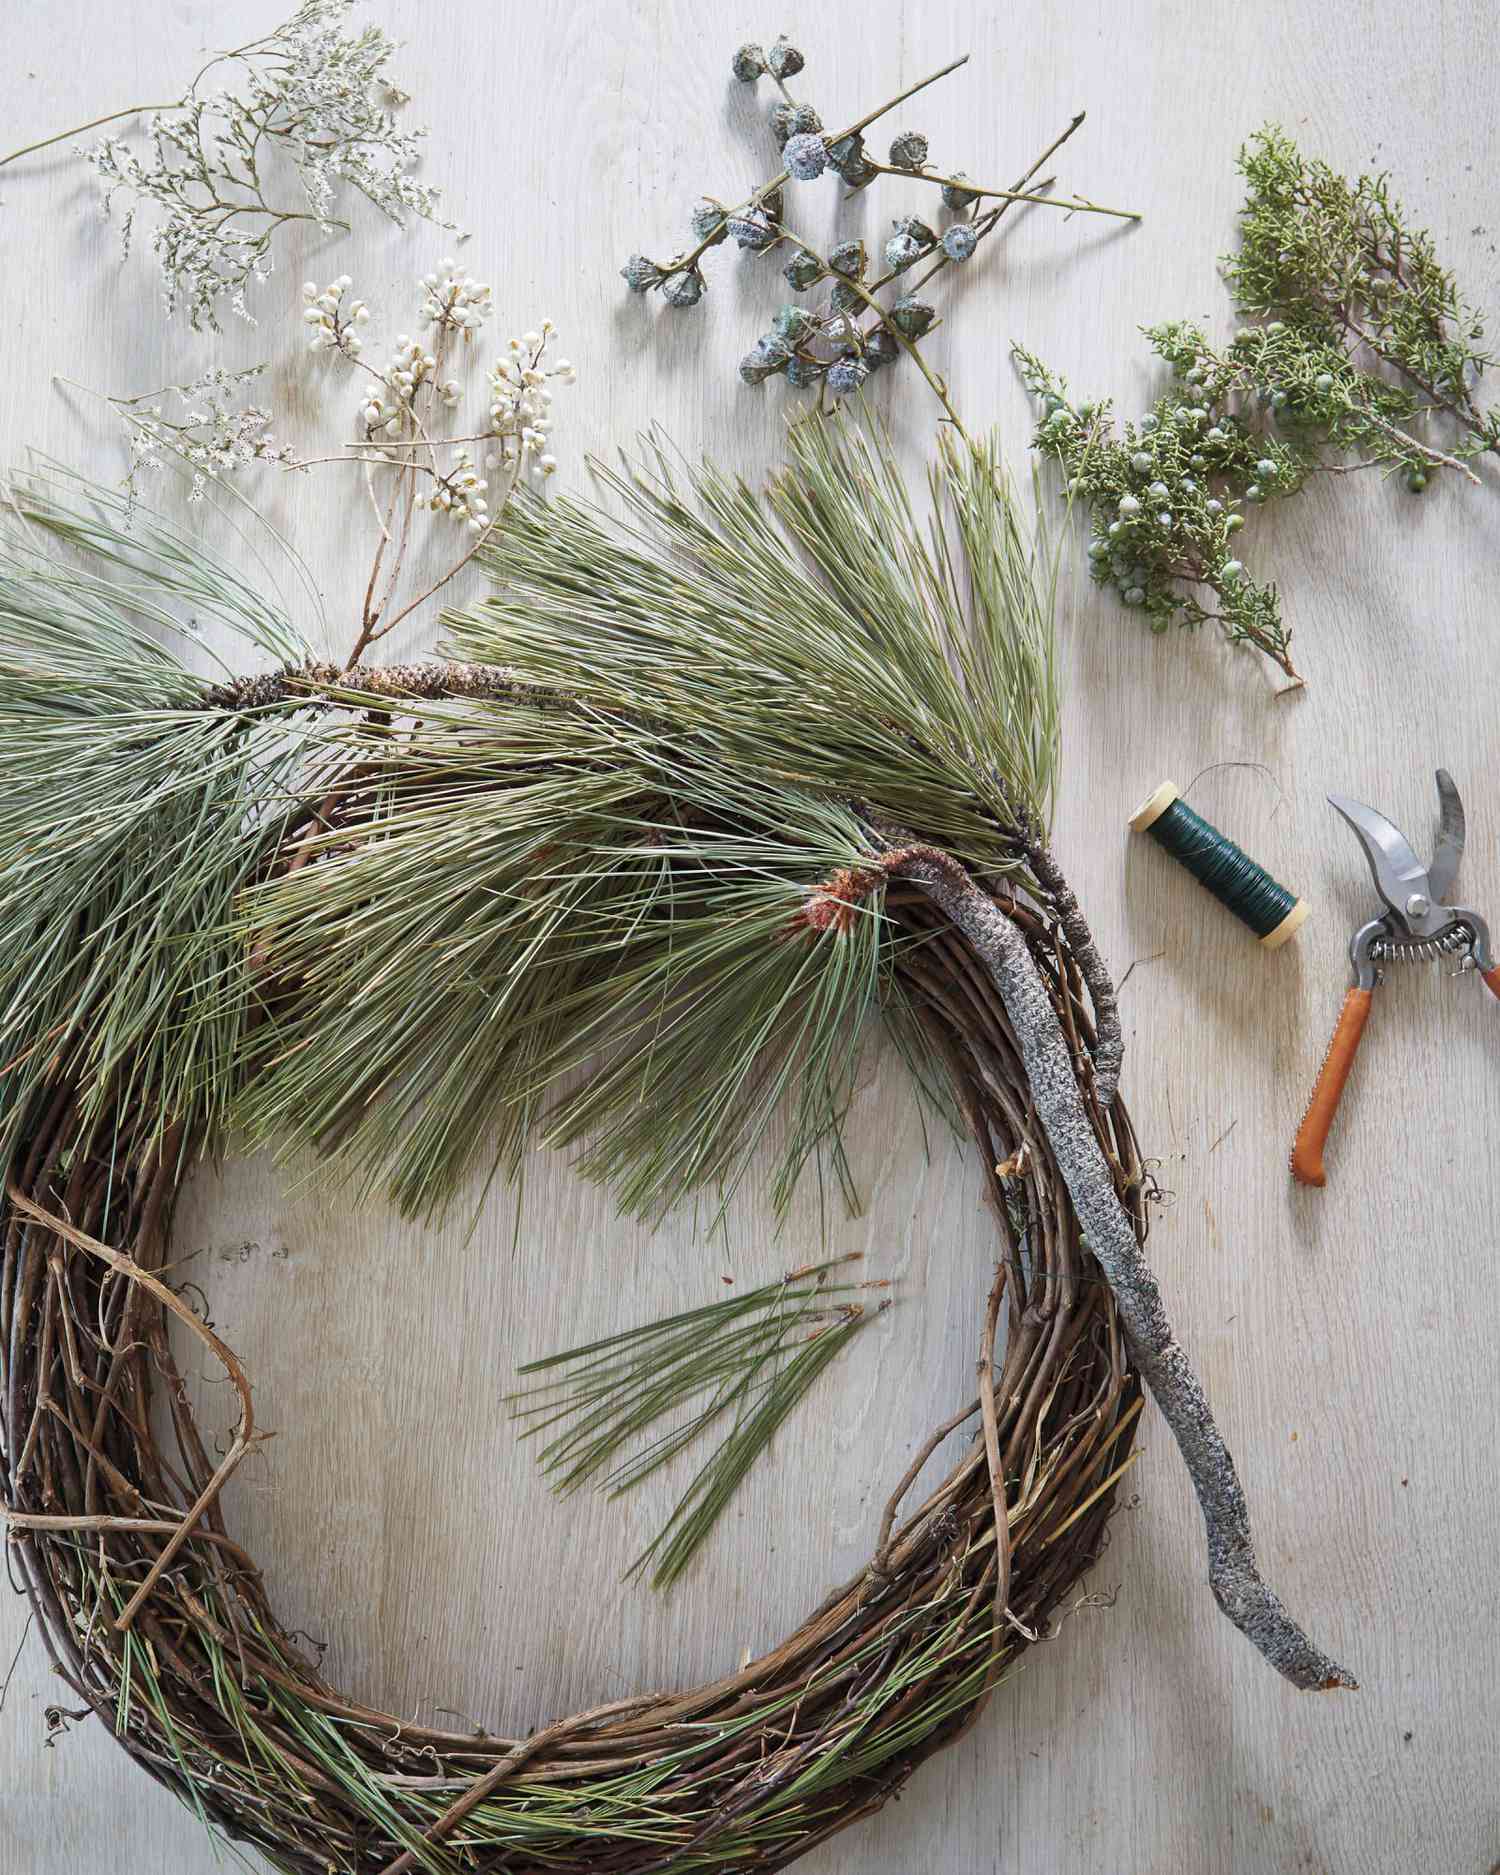
A grapevine wreath form is made of entwined bundles of twigs, popular for being one of the sturdiest bases that comes with natural charm.
To make it: Using shears, cut embellishments (pictured here: juniper sprigs, eucalyptus pods, caspia, and snowberries) into 6-to-8-inch-long pieces. Cluster them into bunches, attaching to the base of the wreath with wire.
3 of 11
4 of 11
Making a Wire Wreath
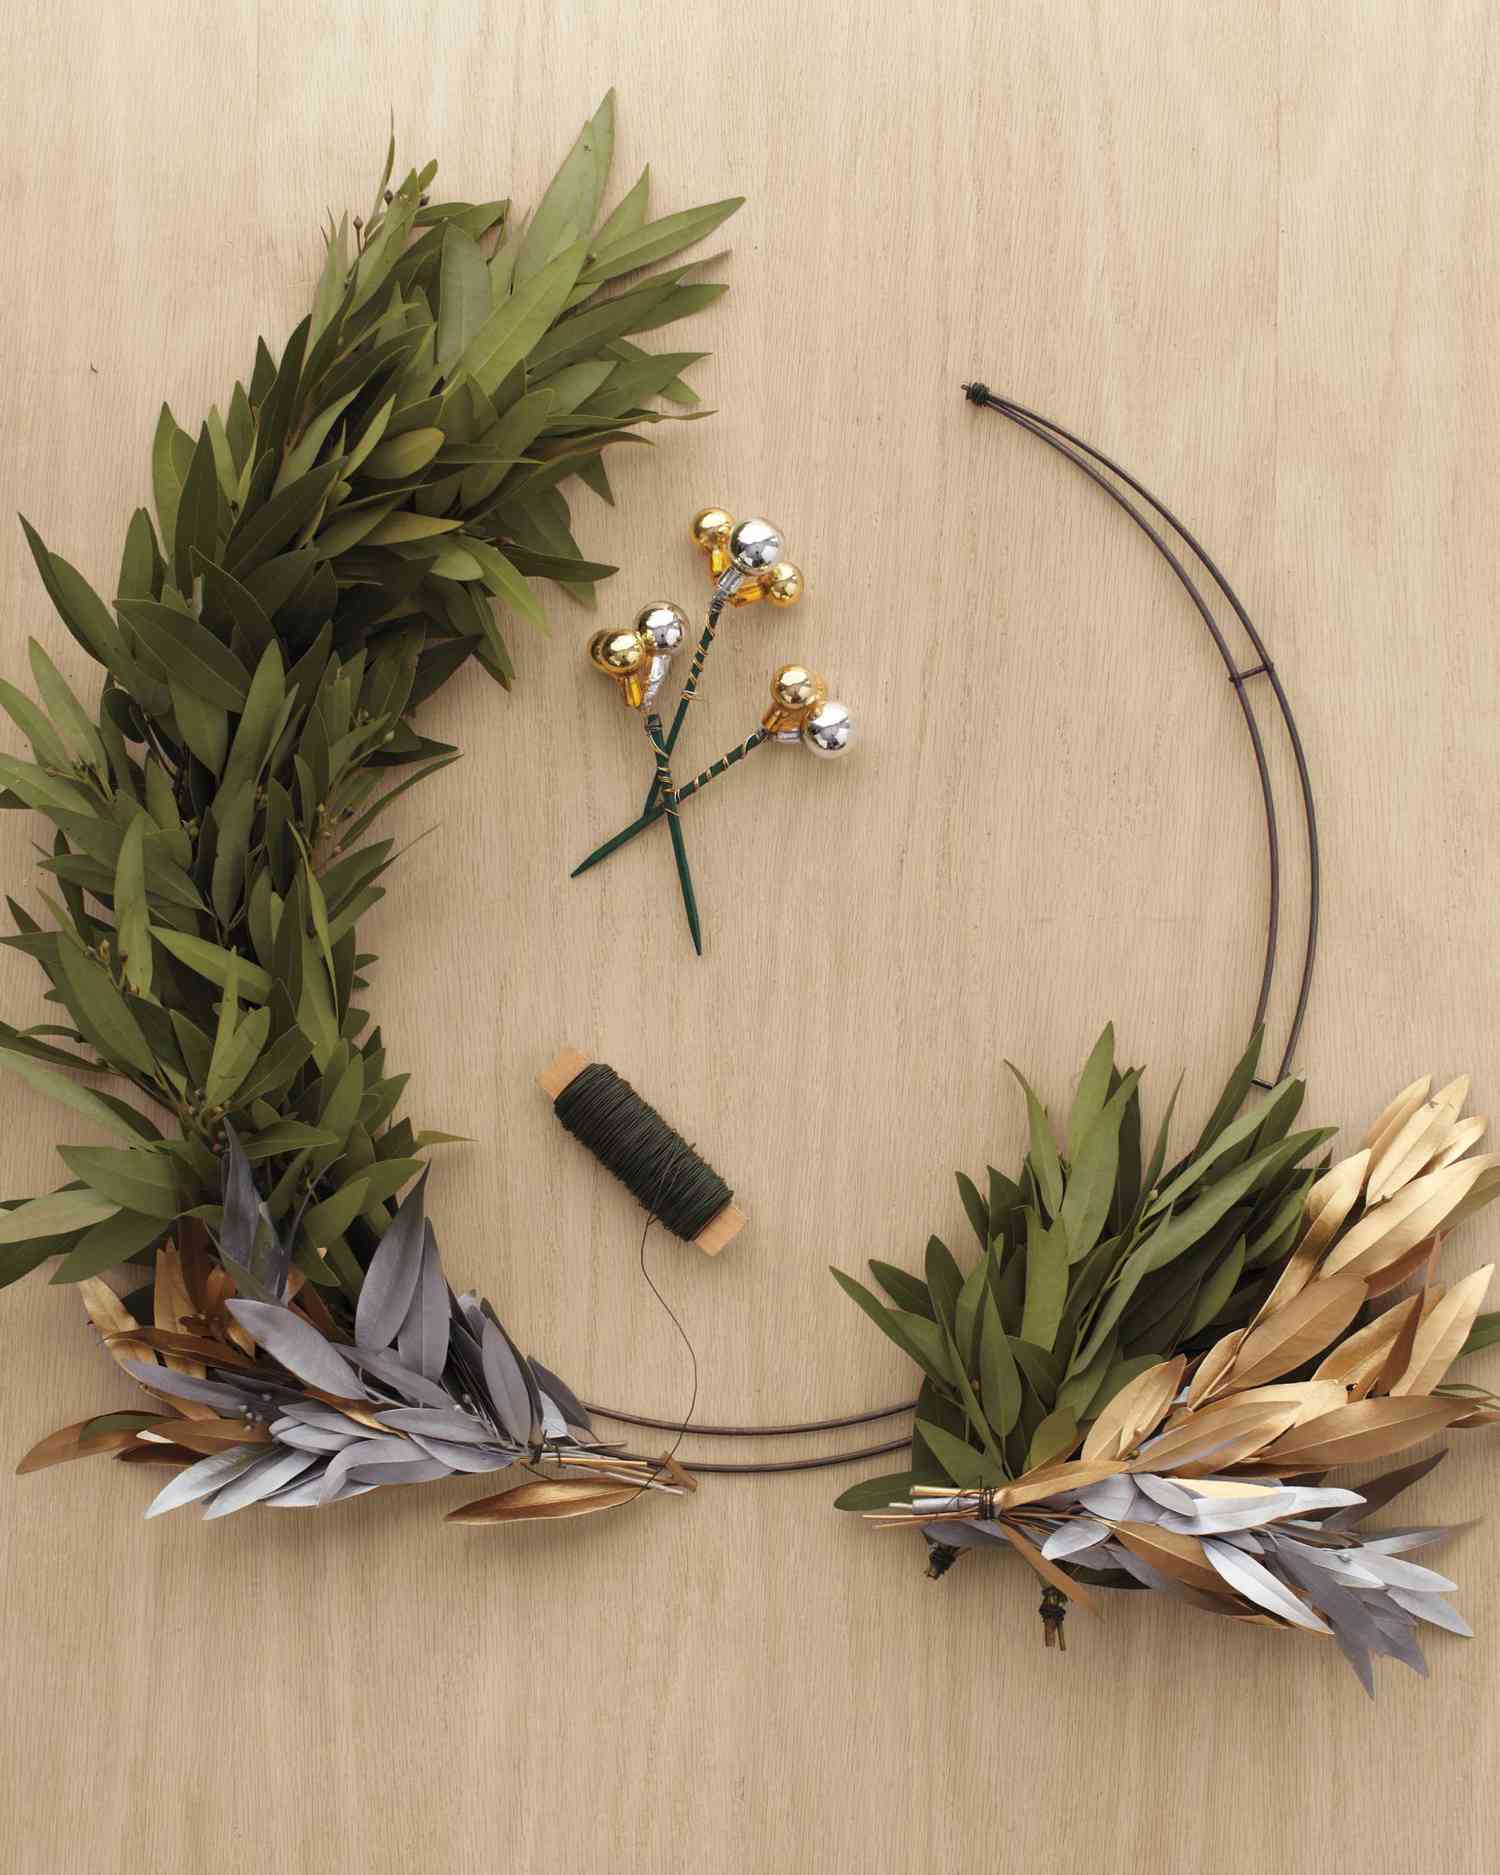
A wire wreath form is the most versatile support for wreaths. Widely available in a variety of shapes, they're sturdy enough for heavy materials like evergreen boughs and citrus fruits. A single-wire frame is best for a thin, delicate wreath; for a lush-looking wreath, start with a double-wire frame.
To make it: Lay a small bundle of greenery on the form, and wrap floral wire on a paddle tightly around the stems three times. Do not cut the wire. Add another bundle, overlapping the previous one by half; wrap wire around the stems. Continue adding bundles until you reach the starting point. (For this wreath, we used sprigs of bay or eucalyptus, but you can use other evergreen cuttings. We also used a pair of bolt cutters to remove a portion of wreath form and closed off the ends with wire.) Tuck wire under the form, secure with a knot, and cut using wire cutters. When the entire form is covered, tie off the wire, leaving a few extra inches before cutting the end.
4 of 11
5 of 11
Making a Styrofoam Wreath
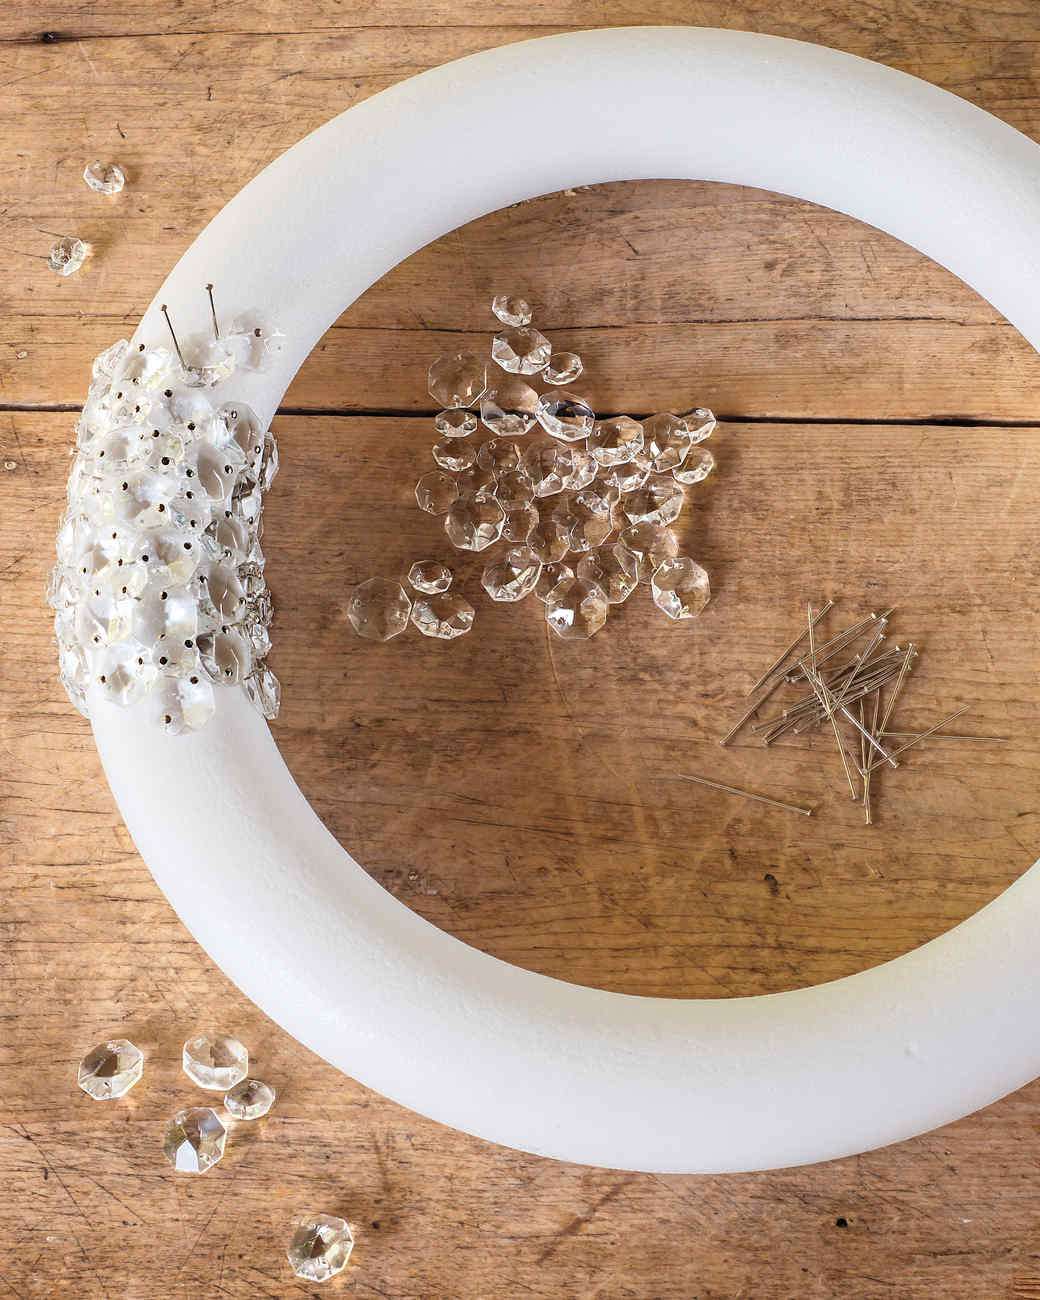
A Styrofoam wreath form is lightweight with a smooth rounded form—ideal for a wreath that you want to cover that will not hold weight on it's own. It can be covered with fabric, yarn, and any other material.
To make it: Spray-paint the form or cover with fabric. Then, use straight pins to adhere embellishments (as shown here with crystal pieces) by pressing a pin through the embellishment into the soft base beneath. Repeat, placing embellishments as close together as you can and using smaller ones on top to fill in gaps. (Don't worry if they are not all flush—this creates dimension.)
5 of 11
6 of 11
Making a Straw Wreath
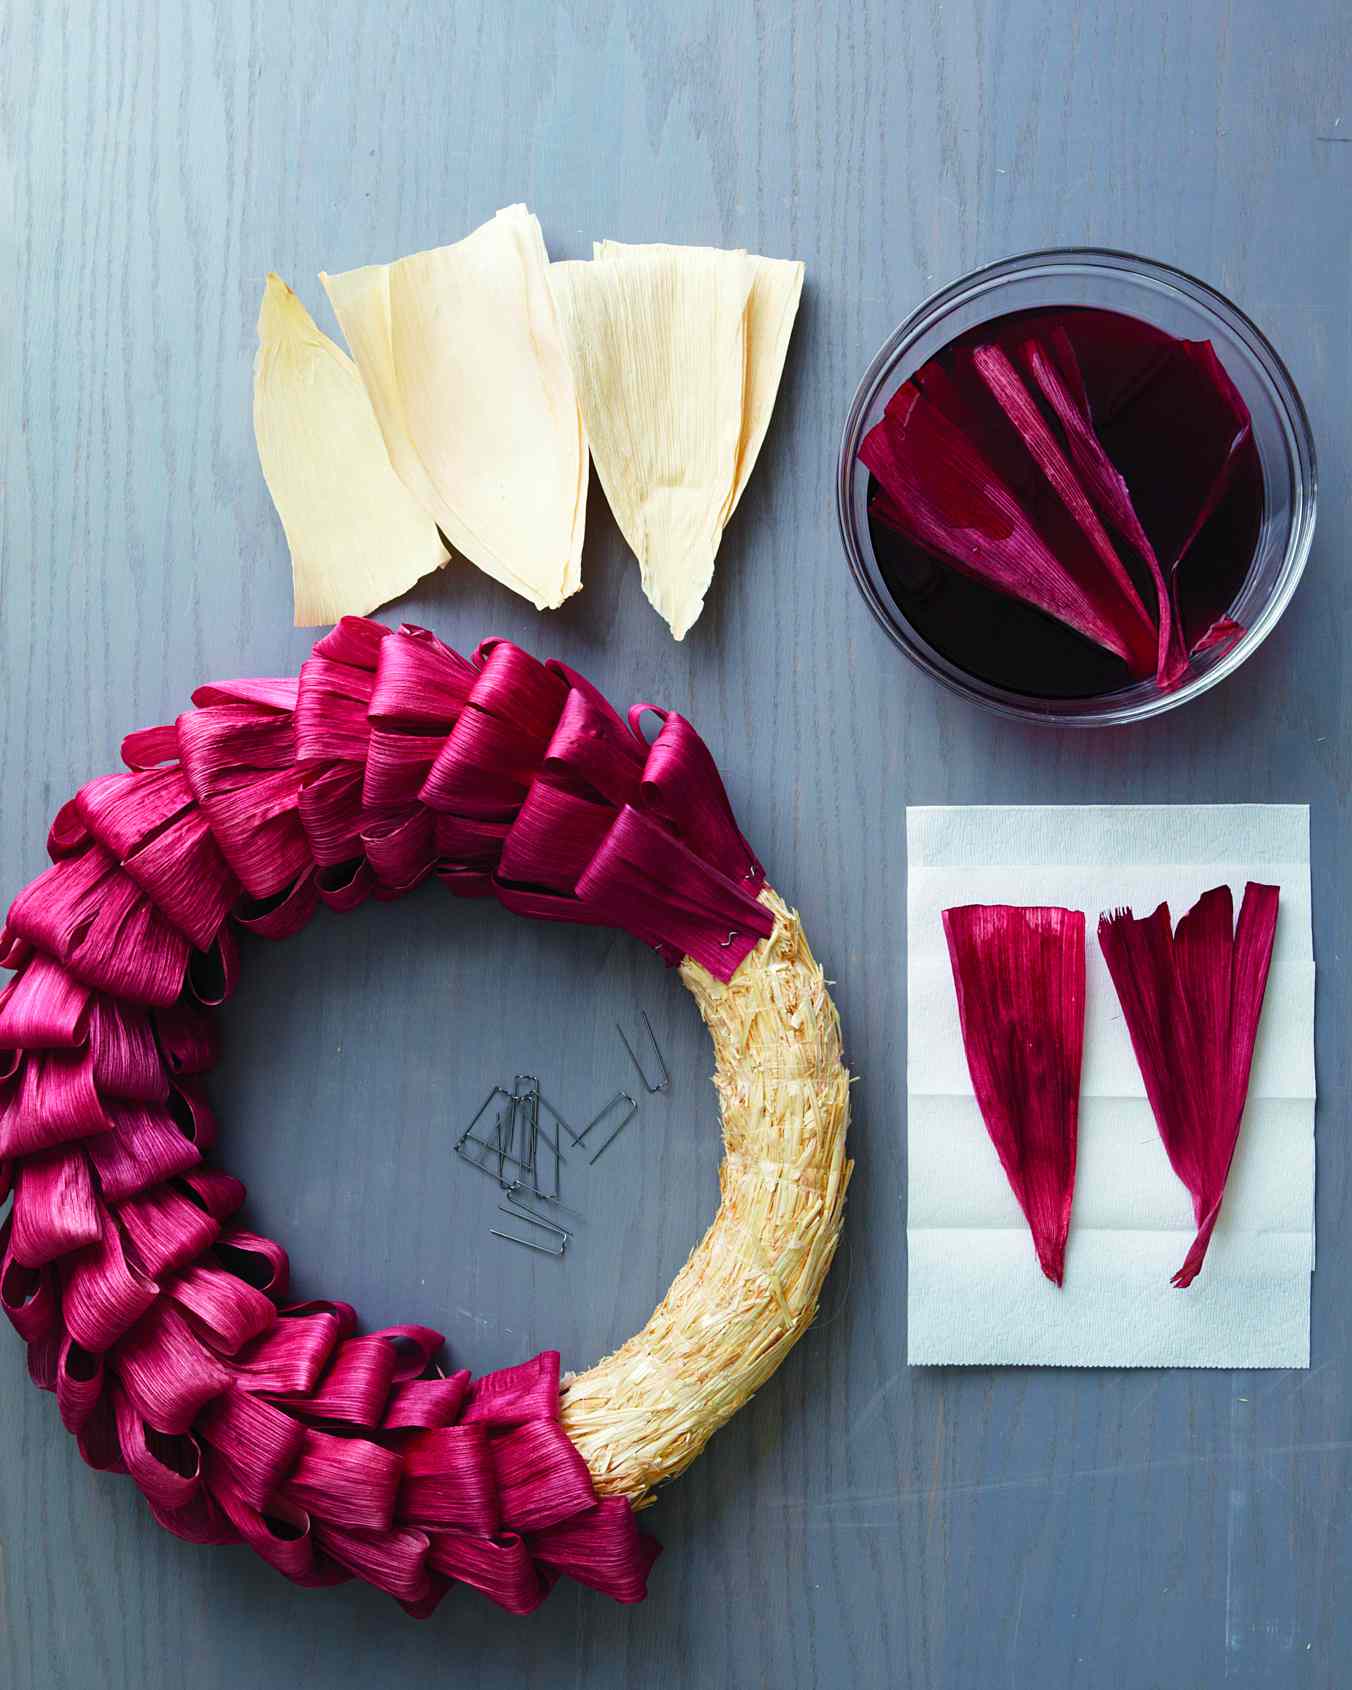
A straw wreath is made with padded natural straw or hay to create a full, rounded base that can support a variety of materials. Leaves, dried flowers, or even clamshells can then be pinned or glued onto the soft form—although a straw wreath is so beautiful, you may want to hang it on its own.
To make it: Use floral pins to attach embellishments (near their stems) to the straw form in tight clusters. Continue until the form is completely covered.
6 of 11
7 of 11
Making a Craft Ring Wreath
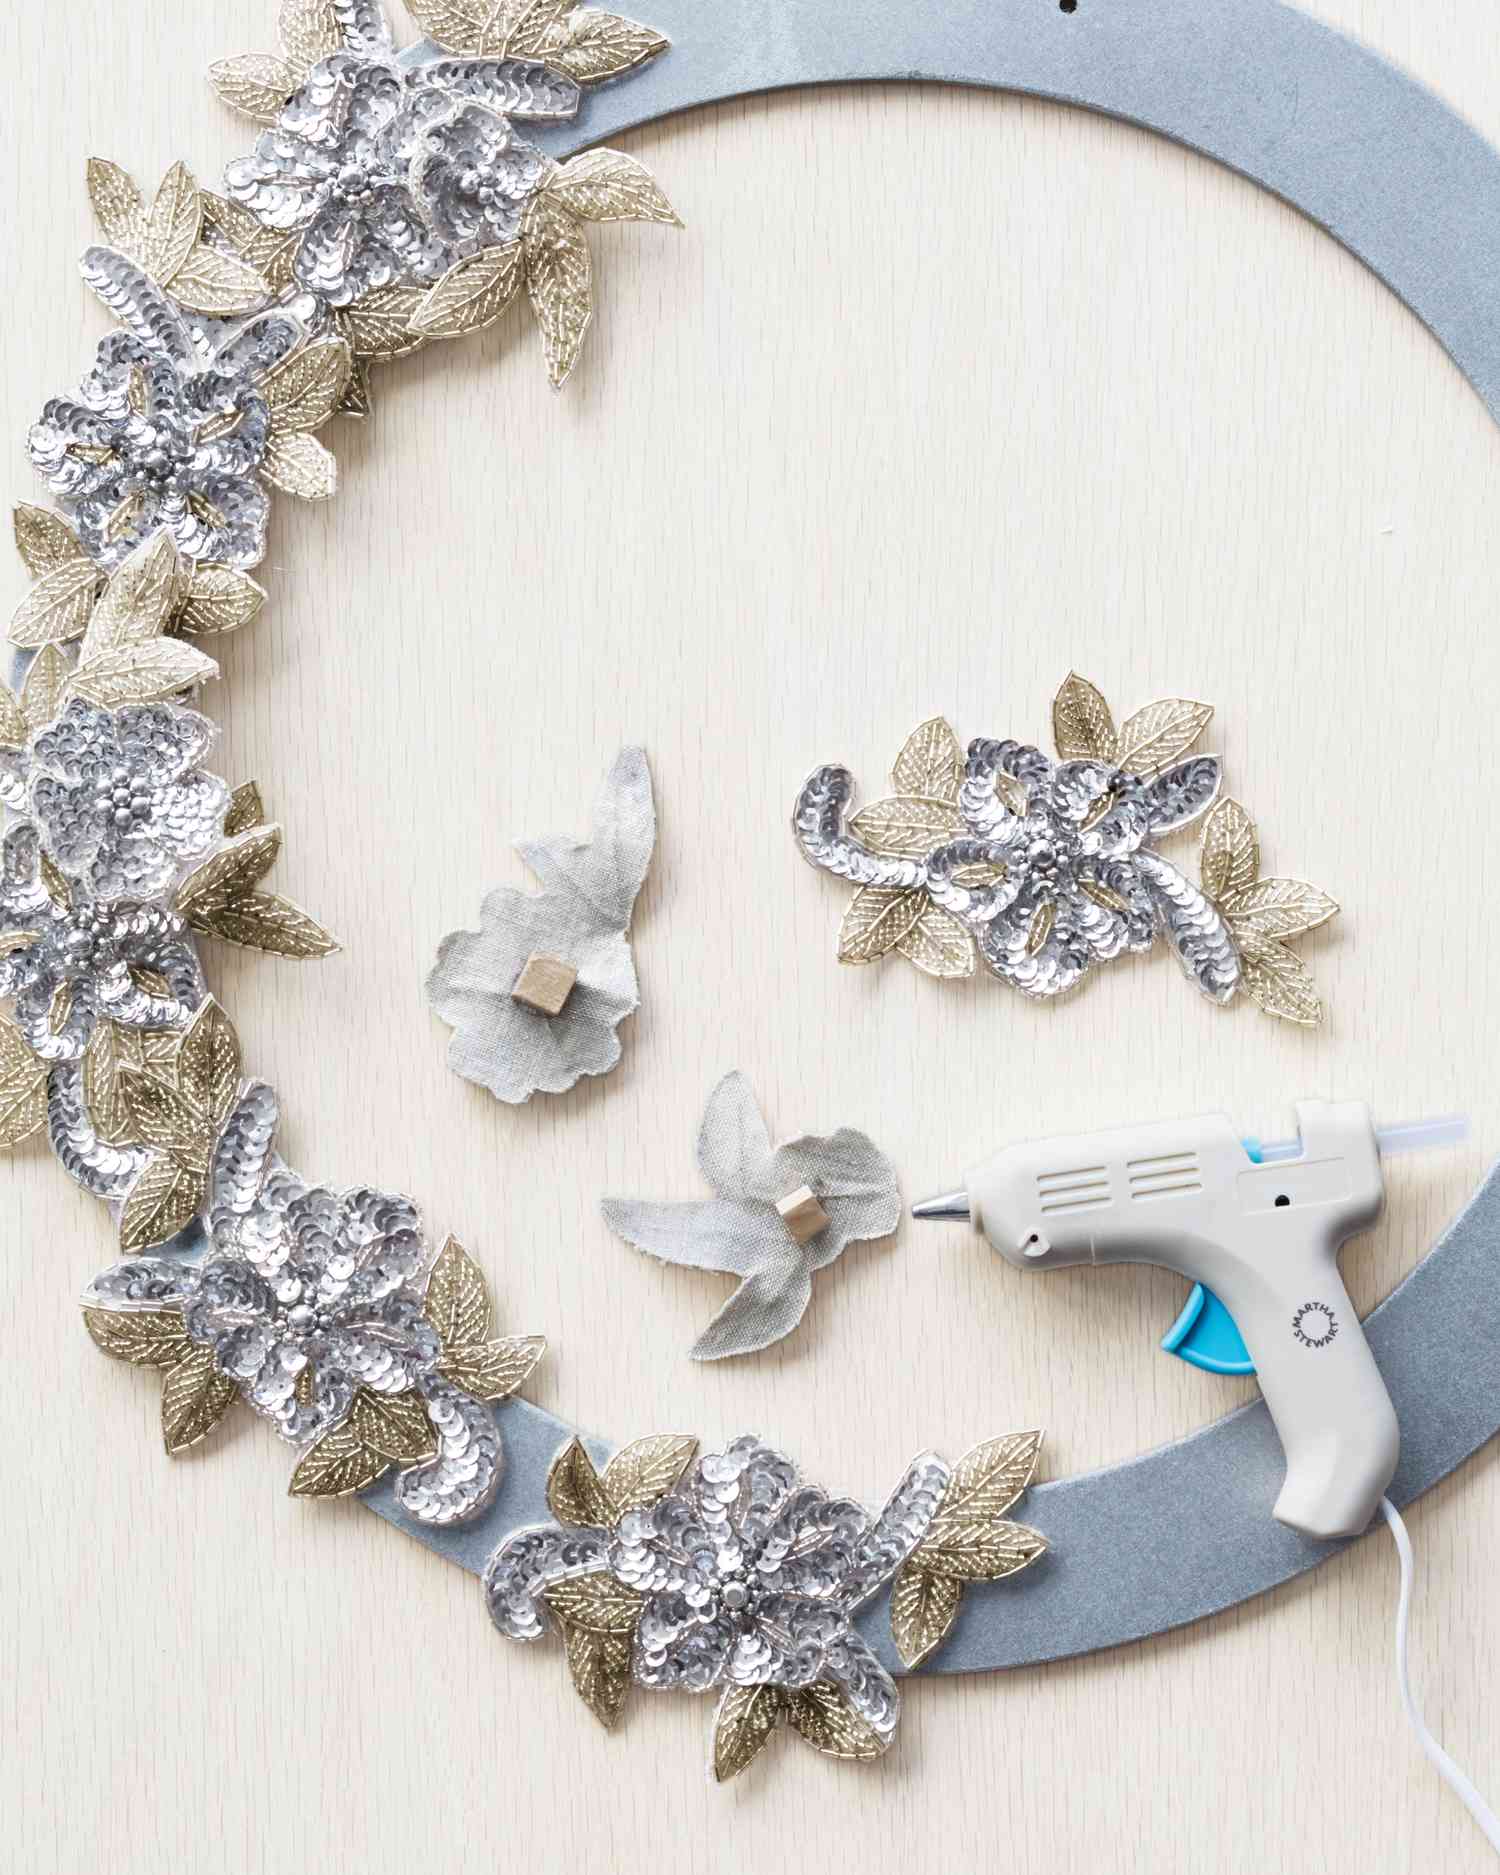
A craft ring is a circular cardboard base that's thin yet sturdy and easy-to-use in all kinds of wreath projects.
To make it: First spray paint it in a new color, if desired. (We spray-painted ours shown here in silver to match the appliqués.) Then, adhere lightweight embellishments to the front with heavy-duty glue or by drilling into its base.
7 of 11
8 of 11
Hanging a Wreath
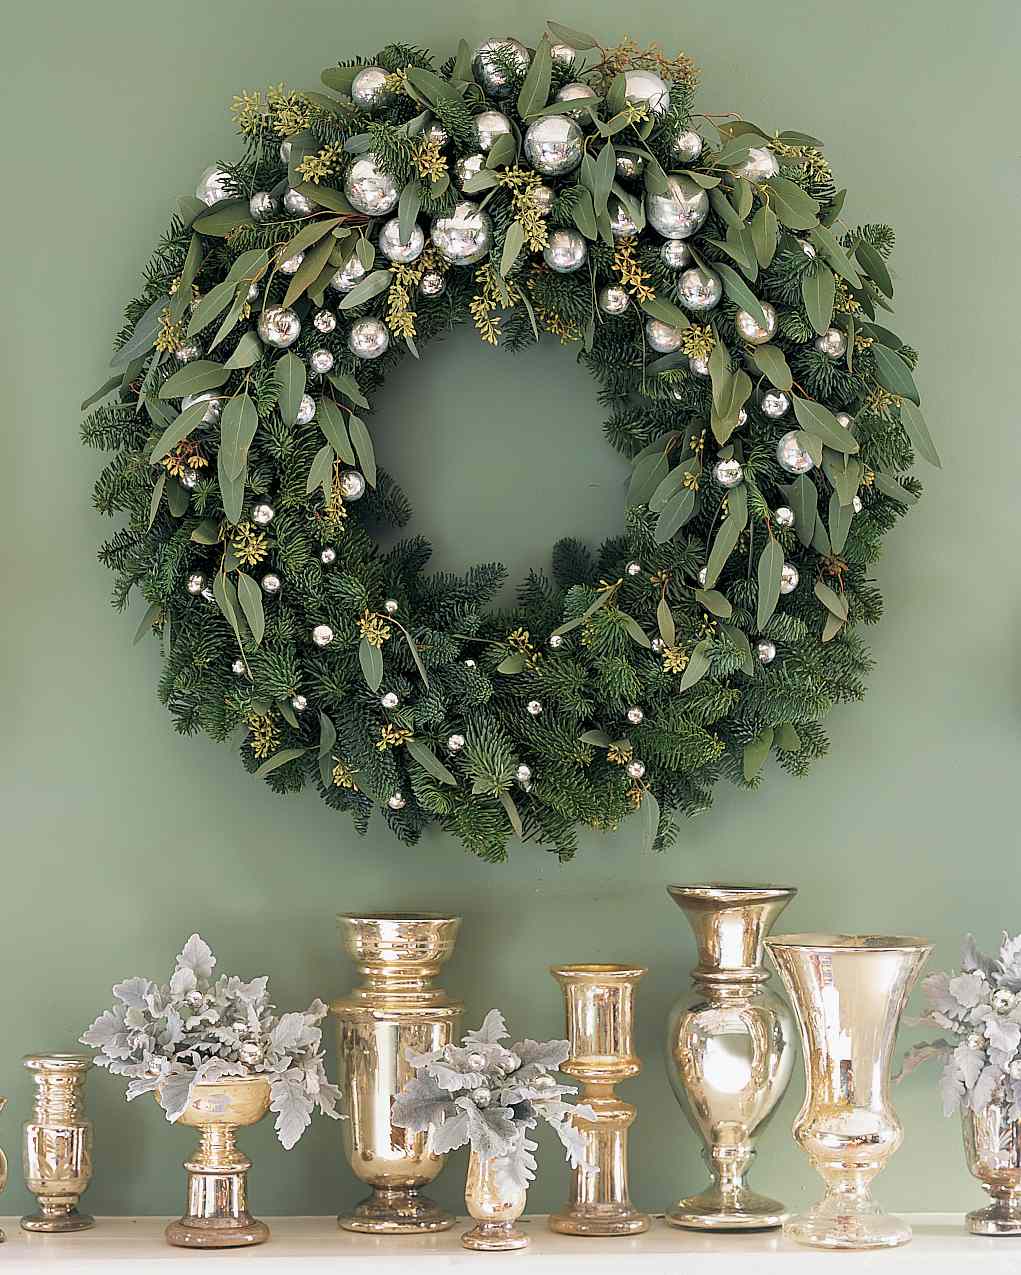
Spread holiday joy by displaying your wreath on a door or molding, for all to see. To avoid creating unsightly holes in walls or woodwork, suspend wreath from the top of a door or molding with either a length of sturdy ribbon or monofilament (the monofilament's packaging should list how much weight it will support).
To hang, cut a piece of ribbon (at least 3 inches wide) or monofilament long enough so that, when the ribbon or monofilament is doubled, the wreath will hang at the desired height. Loop the ribbon or monofilament around the back of the wreath form (or pin it, in the case of Styrofoam or straw forms). If using ribbon, fold the edges over 1/2 inch, and secure to the top of the door or molding with a few flat, heavy-duty thumbtacks (available at hardware stores). If using monofilament, knot the ends of the doubled-up string and use a tack to secure the string to the top of the door or the molding. To hang particularly heavy wreaths with ribbon, first hang with monofilament to support the bulk of the weight, and then attach the ribbon as a decorative detail.
Command strips and magnetic hooks are both ideal products for hanging a wreath. And an adjustable wreath hanger will hook over the door or frame.
8 of 11
9 of 11
Tying a Wreath Bow
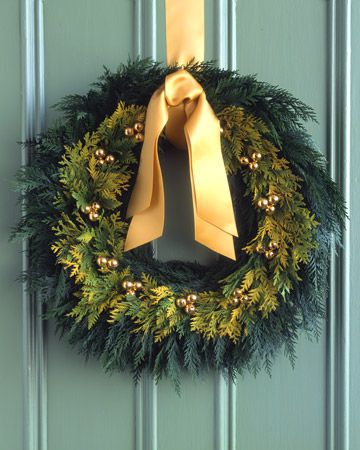
Some wreaths don't seem complete until they are finished off with a large, lavish bow. A crisp ribbon will make the nicest bow; grosgrain, satin, taffeta, and velvet are all good choices. It can be styled in a number of ways from a fluffy rosette to a minimalist draping.
9 of 11
10 of 11
Decorating a Wreath with Fruit
Oven-dried orange slices, cranberry garlands, and seasonal spices emit a warm aroma that's perfect for an evergreen wreath at Christmastime. Try bundling cinnamon sticks, star anise, or adding cloves to decorative pomanders. For longevity, mist your regularly and display it outdoors on your front door.

